
Every year, usually late November the pictures start making the rounds of social media. Gorgeous Christmas trees, some colourful, some monochrome, all covered in lights and utterly adorable because they’re made from books.
This year I decided I wanted to make my own.
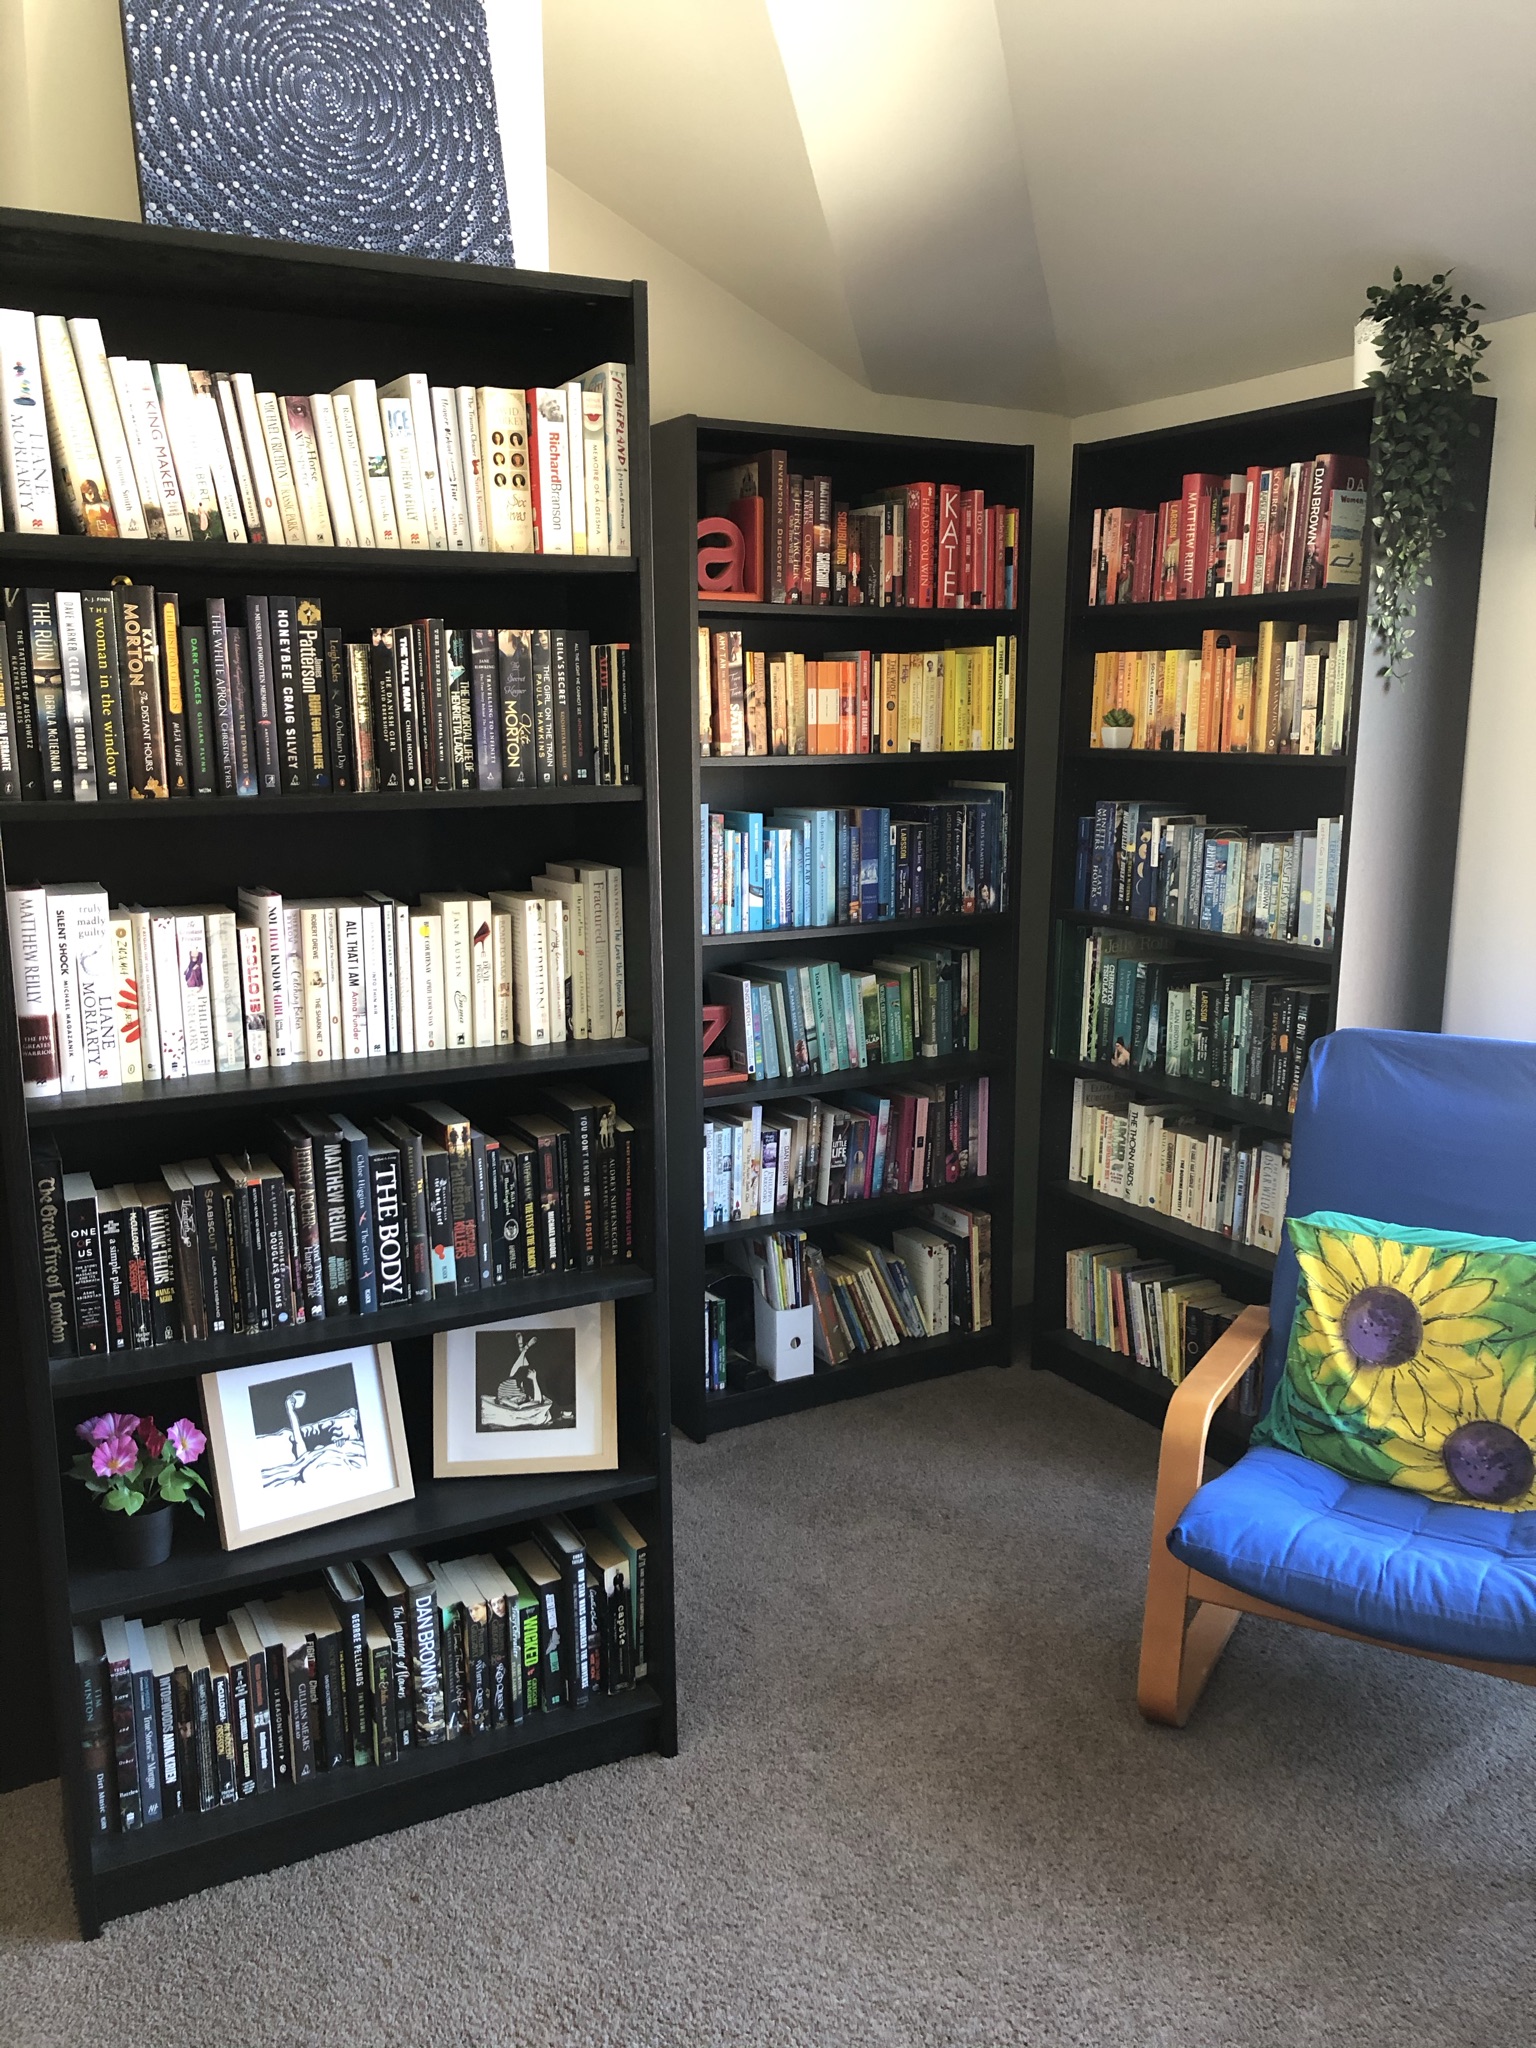
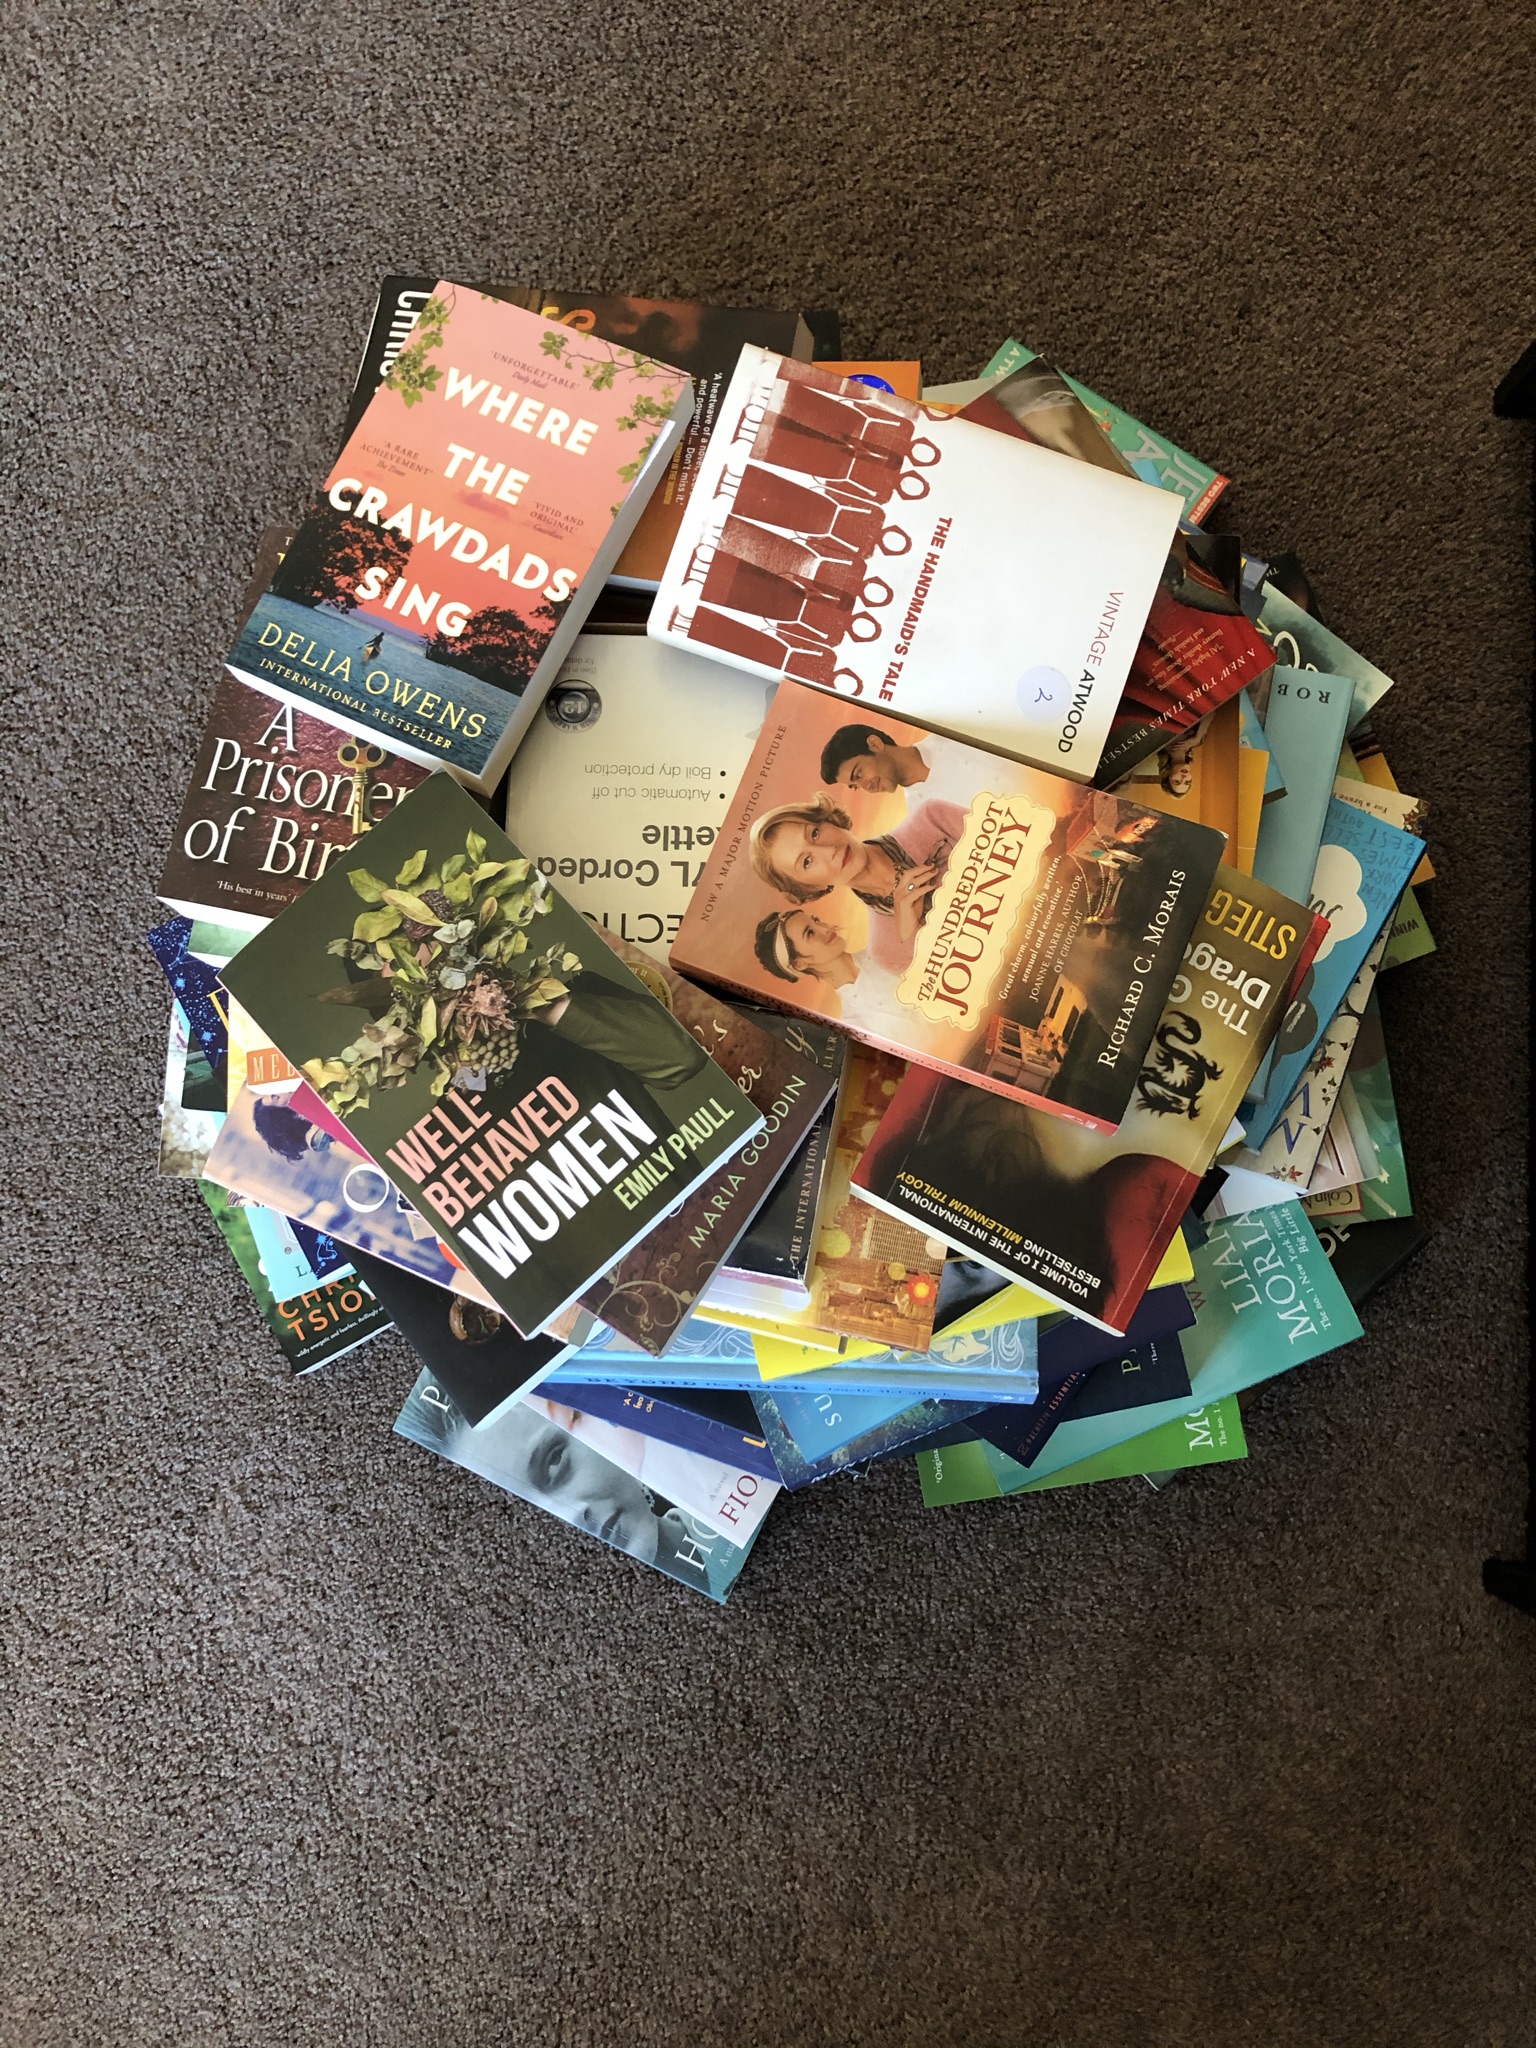
I’m one of those annoying people who sort their books by colour. It looks glorious but makes it very difficult to find specific books – but for once my classification system worked for me.
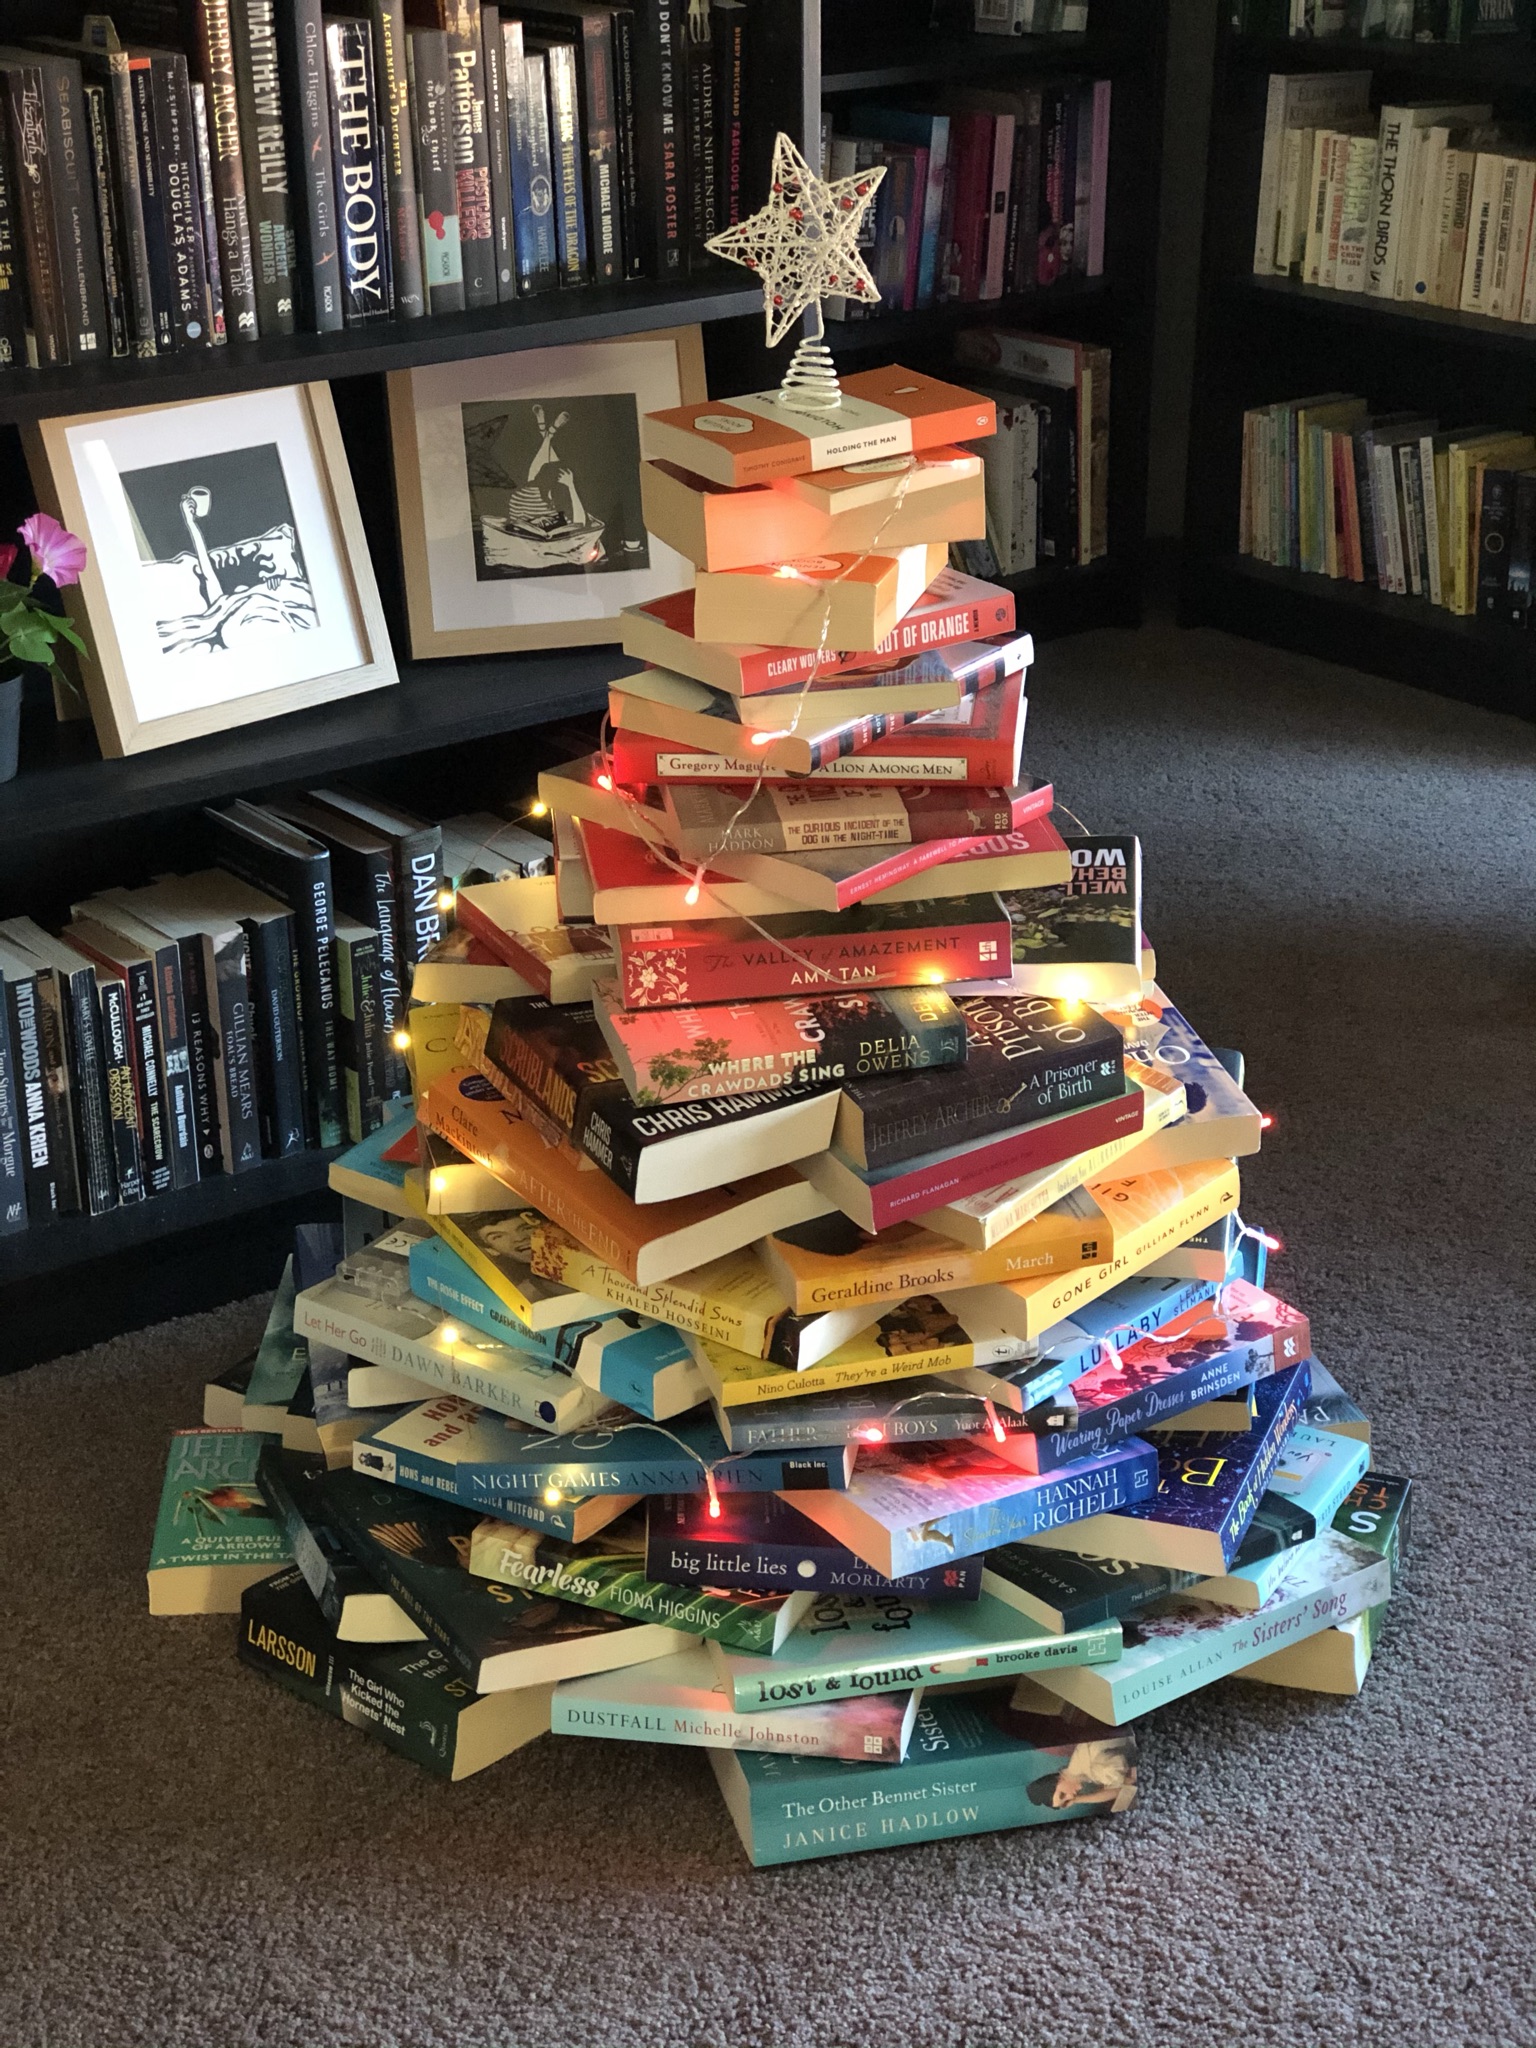
My Book Tree stands about a metre tall and took 100+ books in total. You can obviously go as big as you want, but the bigger the tree the more prudent you need to be with sorting and placing books. Books are notoriously slippery suckers (after all they suck you in to their worlds and make you forget you’re meant to be cooking dinner) and if you have inquisitive small children or pets, you don’t want to ruin Christmas with a book-related emergency.
What do you need?
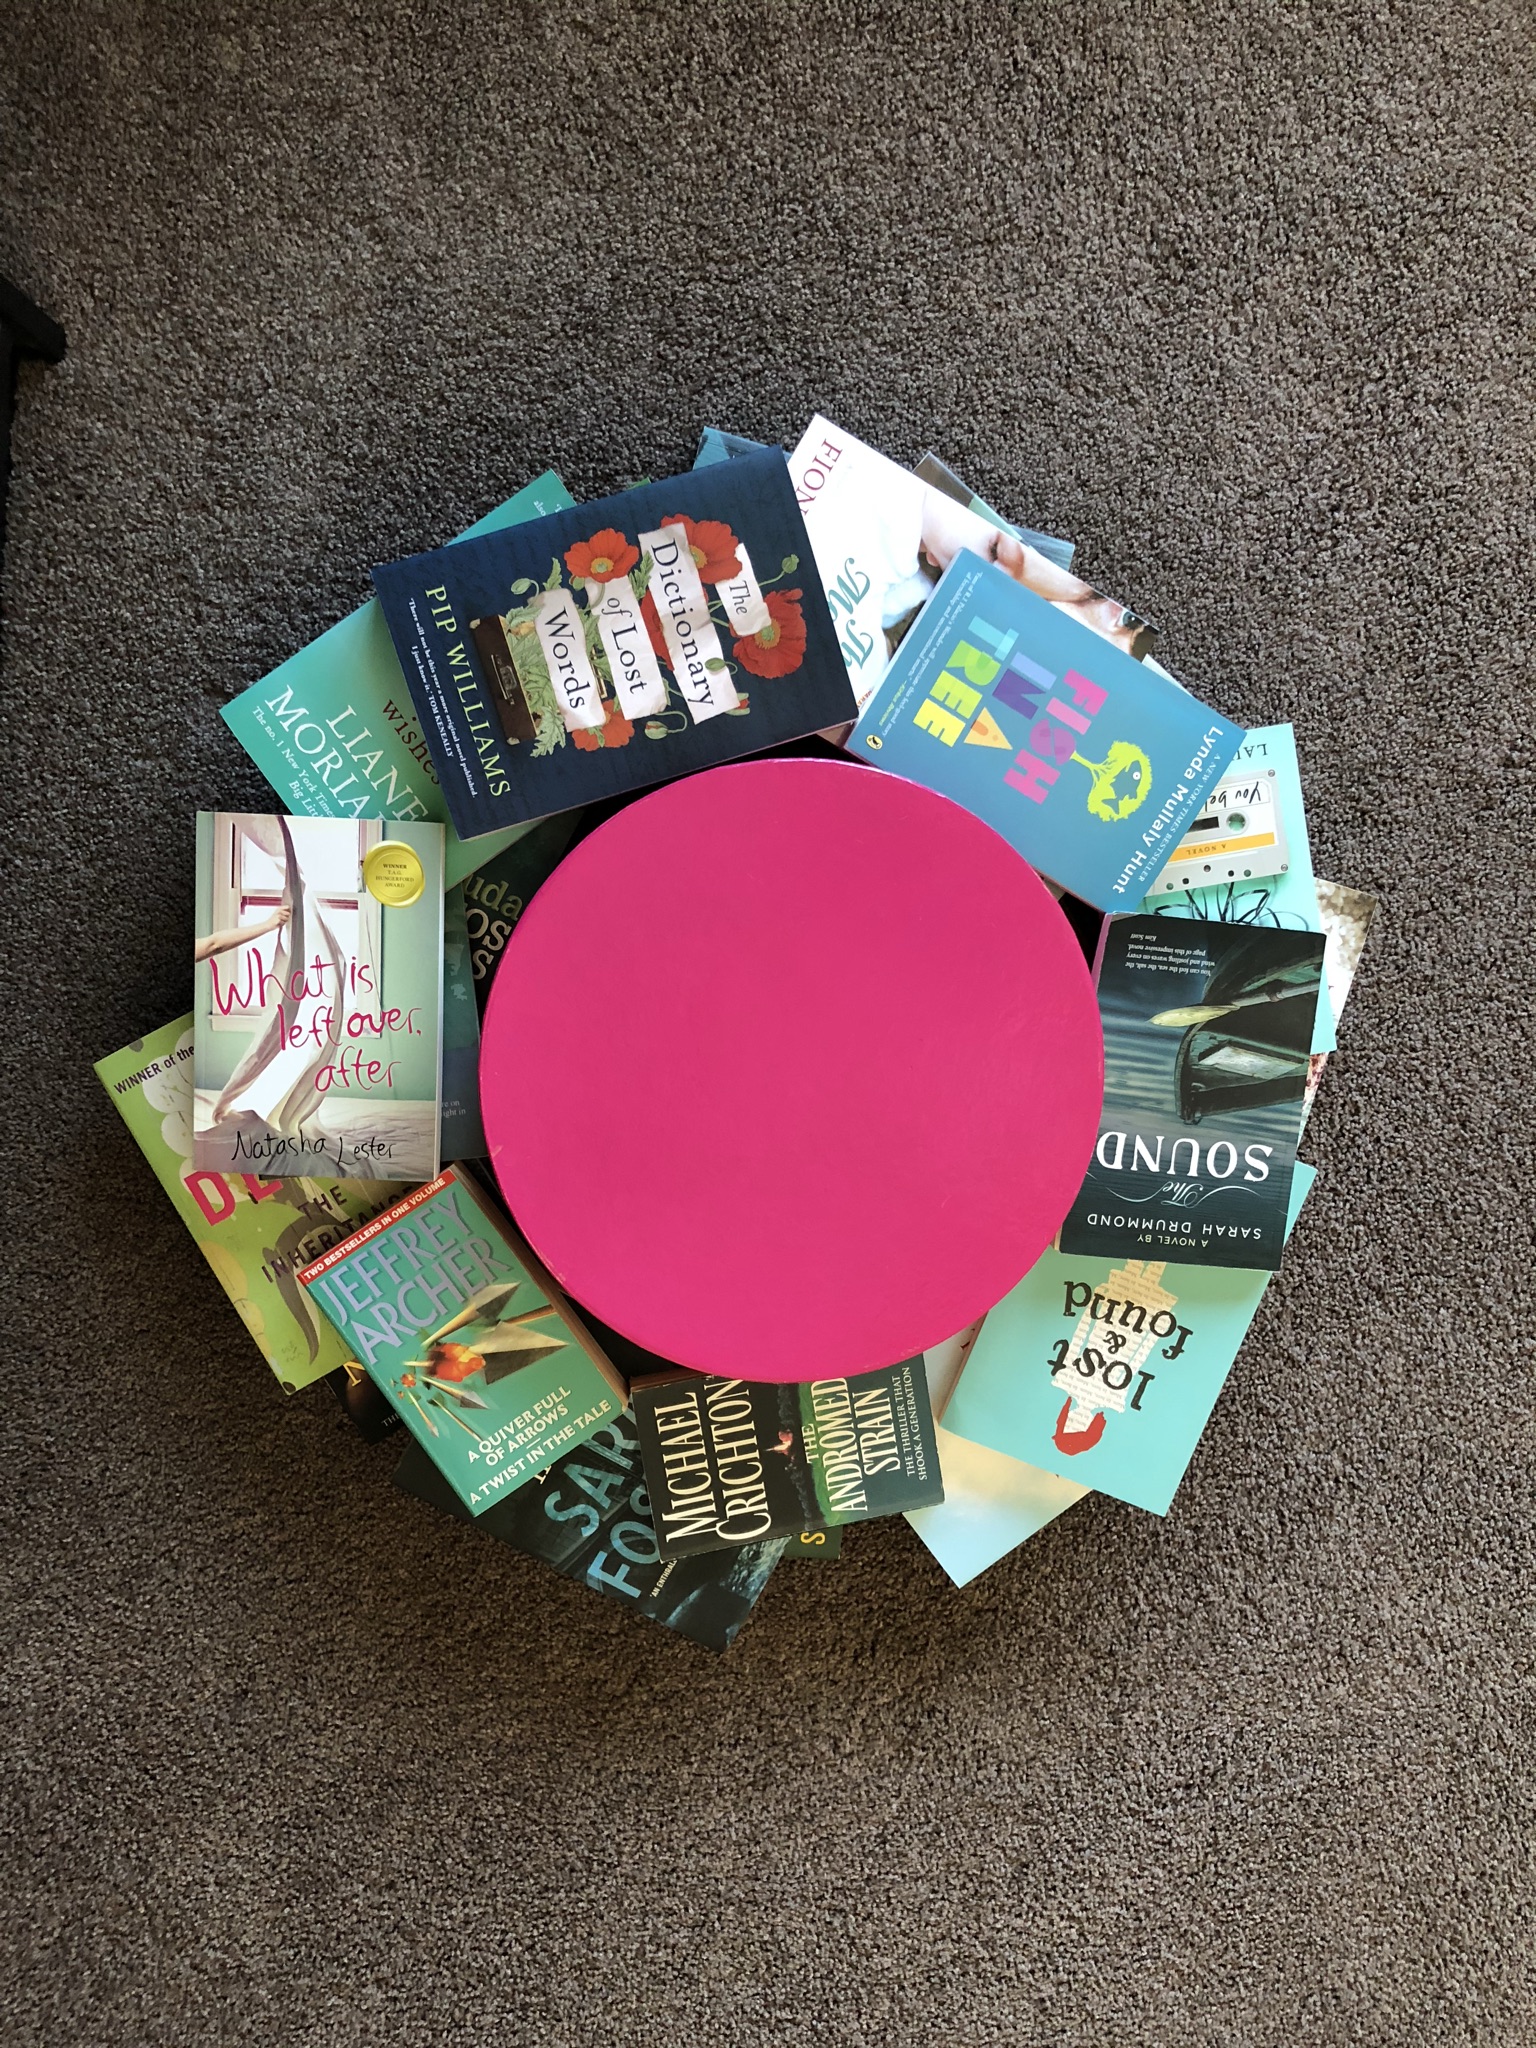
You will need two solid boxes, one bigger than the other. I was fortunate to have a large round hat box which I used for the bottom layer, but a square box would work as well. Don’t use an empty box – the weight of the books on top might collapse it.
Lights and a star really help from turning your tree from ‘pile of books’ to ‘Christmas delight’. Avoid candles though, as festive as they are, you want your books to survive the holiday season.
Lots of lovely books.
Something to consider
I have seen Book Trees which have the spines facing in, which not only hides your embarrassing vintage collection of Virginia Andrews, but makes it look more uniformly white. This is a good option if you don’t want people scrutinising your taste in books or you have a preference for minimalism.
The most solid trees are those with the largest, hard-cover books at the base of the tree, working your way up to the small, thin novellas. This requires some serious book taxonomy as you need to sort all your books before you start into size, thickness and shape to ensure each layer is perfectly matched. It makes colour sorting virtually impossible but is essential for the larger Book Trees.
I wanted a rainbow Book Tree, so I played a little hard and fast with the sorting. It gives it a lovely lop-sided shape.
How to make a Book Tree
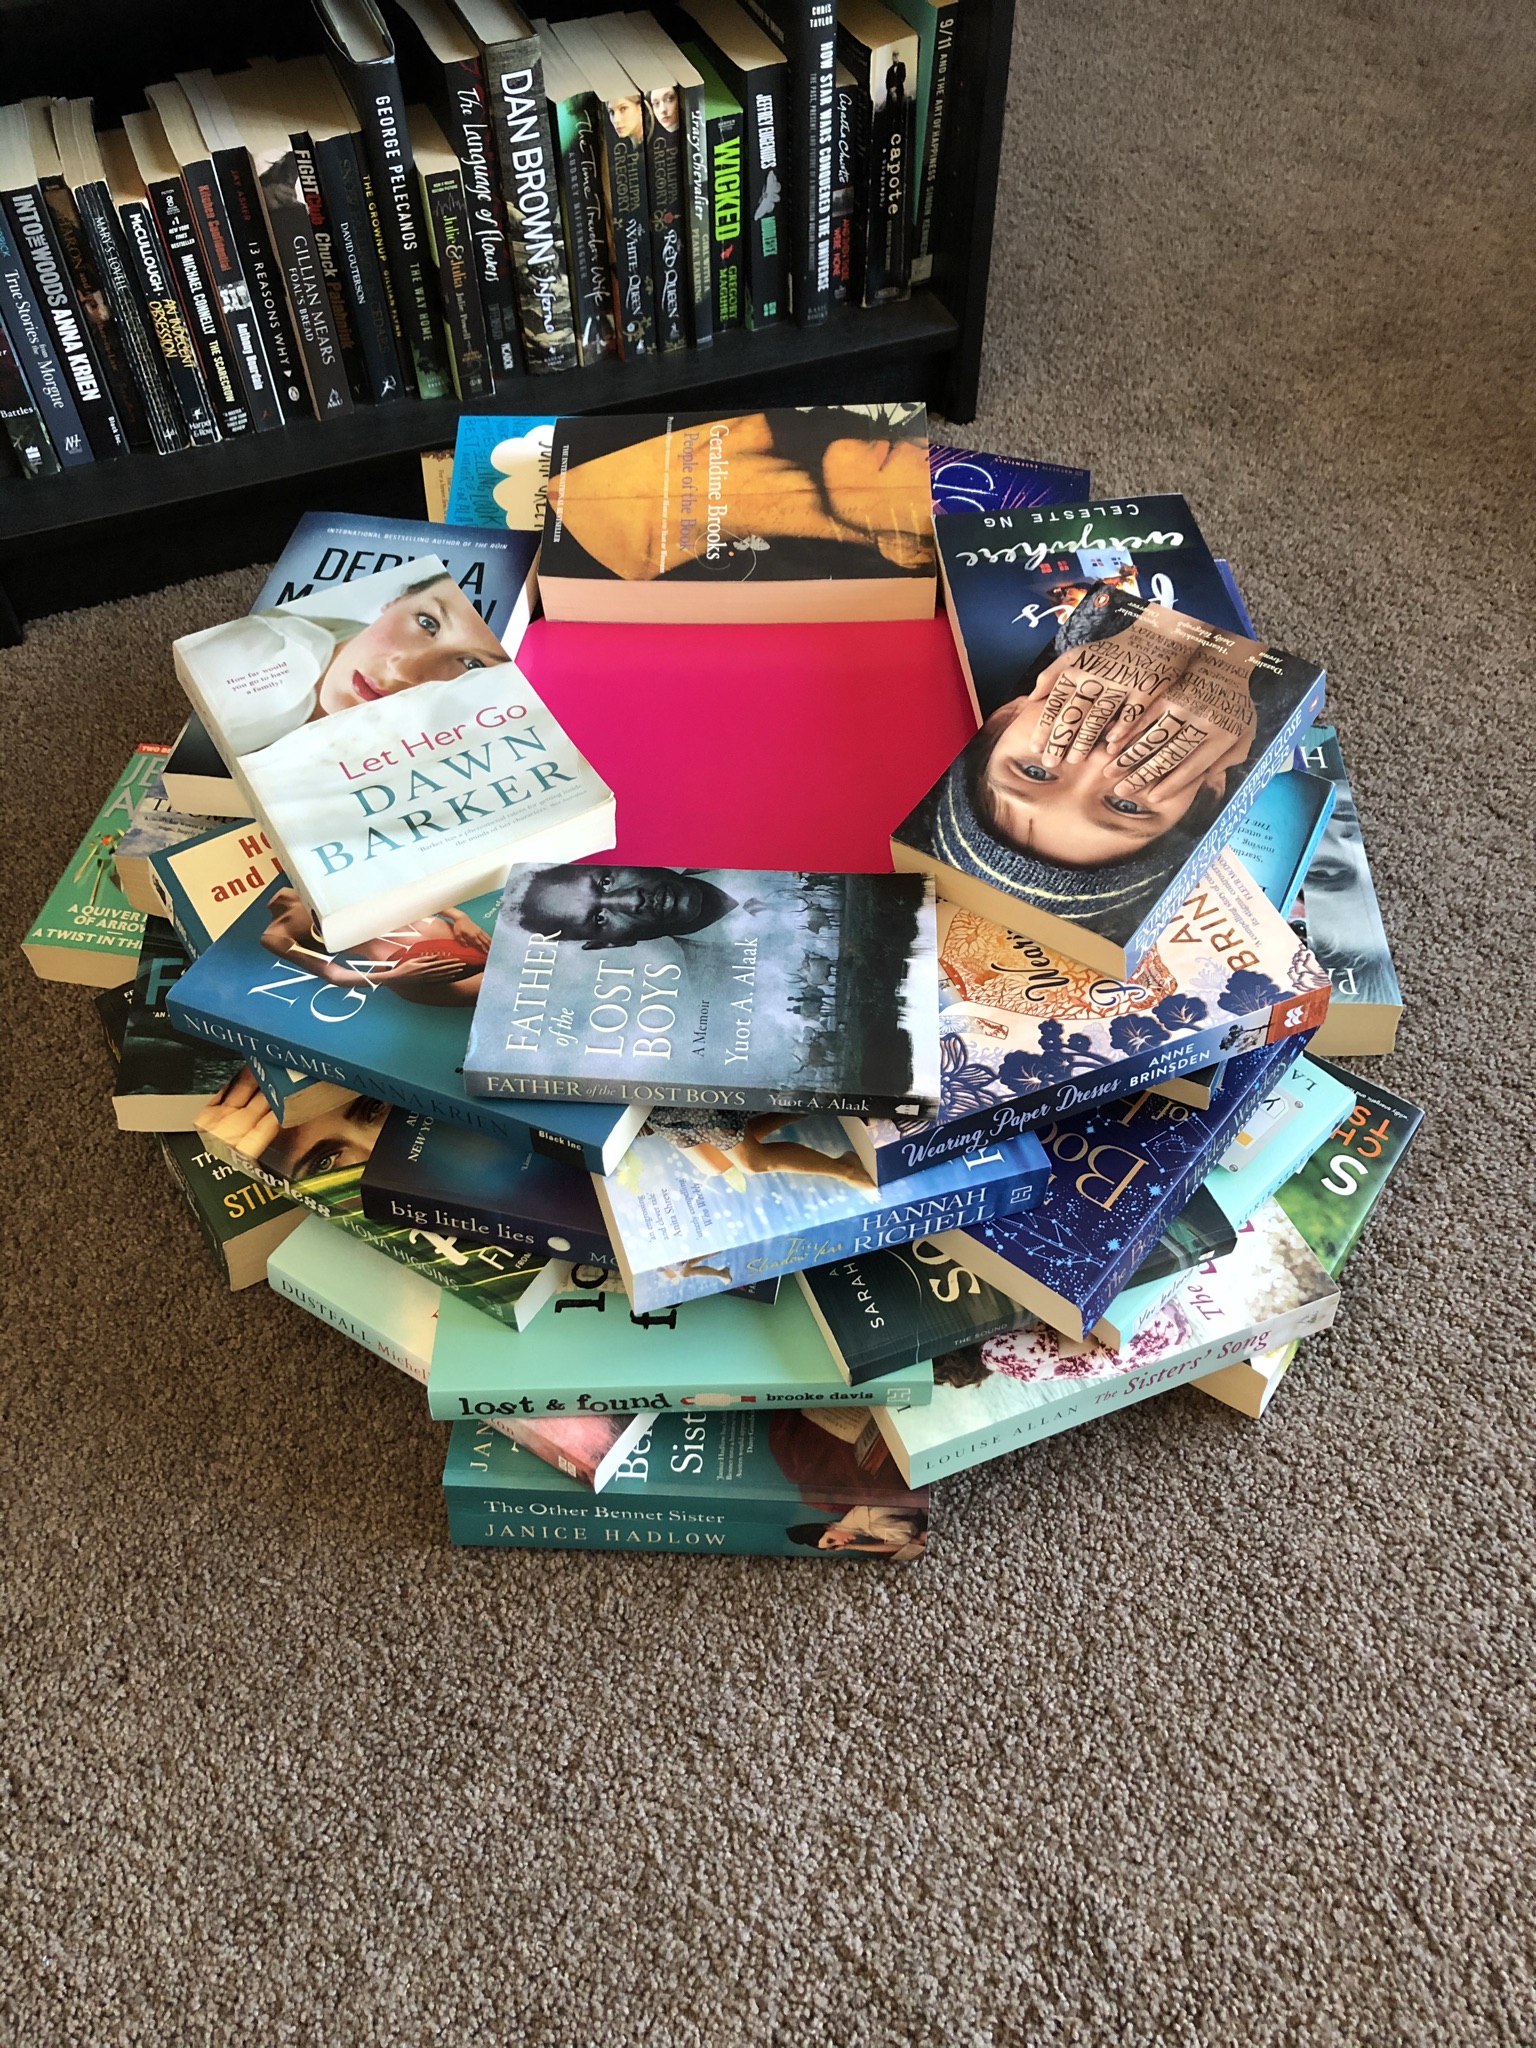
Place your box and start with a layer of your largest books. They don’t need to be flush against the box, I actually kept pulling my bottom layer out as I went, a kind of book jenga. Add your next layers, overlapping books as though you were building a brick wall.
The most important thing to consider is that you use books of similar thickness for each layer. It doesn’t matter if they are different sizes, but don’t be putting Cloud Atlas alongside Breakfast at Tiffany’s and expect your tree to stay up.
If you’re doing a rainbow tree, stop and admire the authors who have bold and bright spines. I find it curious that a lot of my favourite Australian authors have blue and green books. In fact, if I needed a sticker, my tree would be:

Each layer requires less books, but if you are like me, you had plenty of books to include, so go back and carefully pull out the bottom layer if you need to (this is where you will be grateful for those enormous novels that make your arms tired when you read them in bed at night).
Add your second box, and keep working around it, fitting the books in layers around it, and getting smaller as you go. I used a kettle box (with kettle in it) for my second box – you want it to be taller and thinner than your first box.
The last few layers should just be single books – I found my lovely bright Penguin Classics worked a treat here. This is where you add the star and some strings of lights.

The last step is to stand back with a glass of wine (or cup of tea) and admire your handiwork. Get the books from your To Be Read pile, wrap them in Christmas paper and place under your Book Tree.
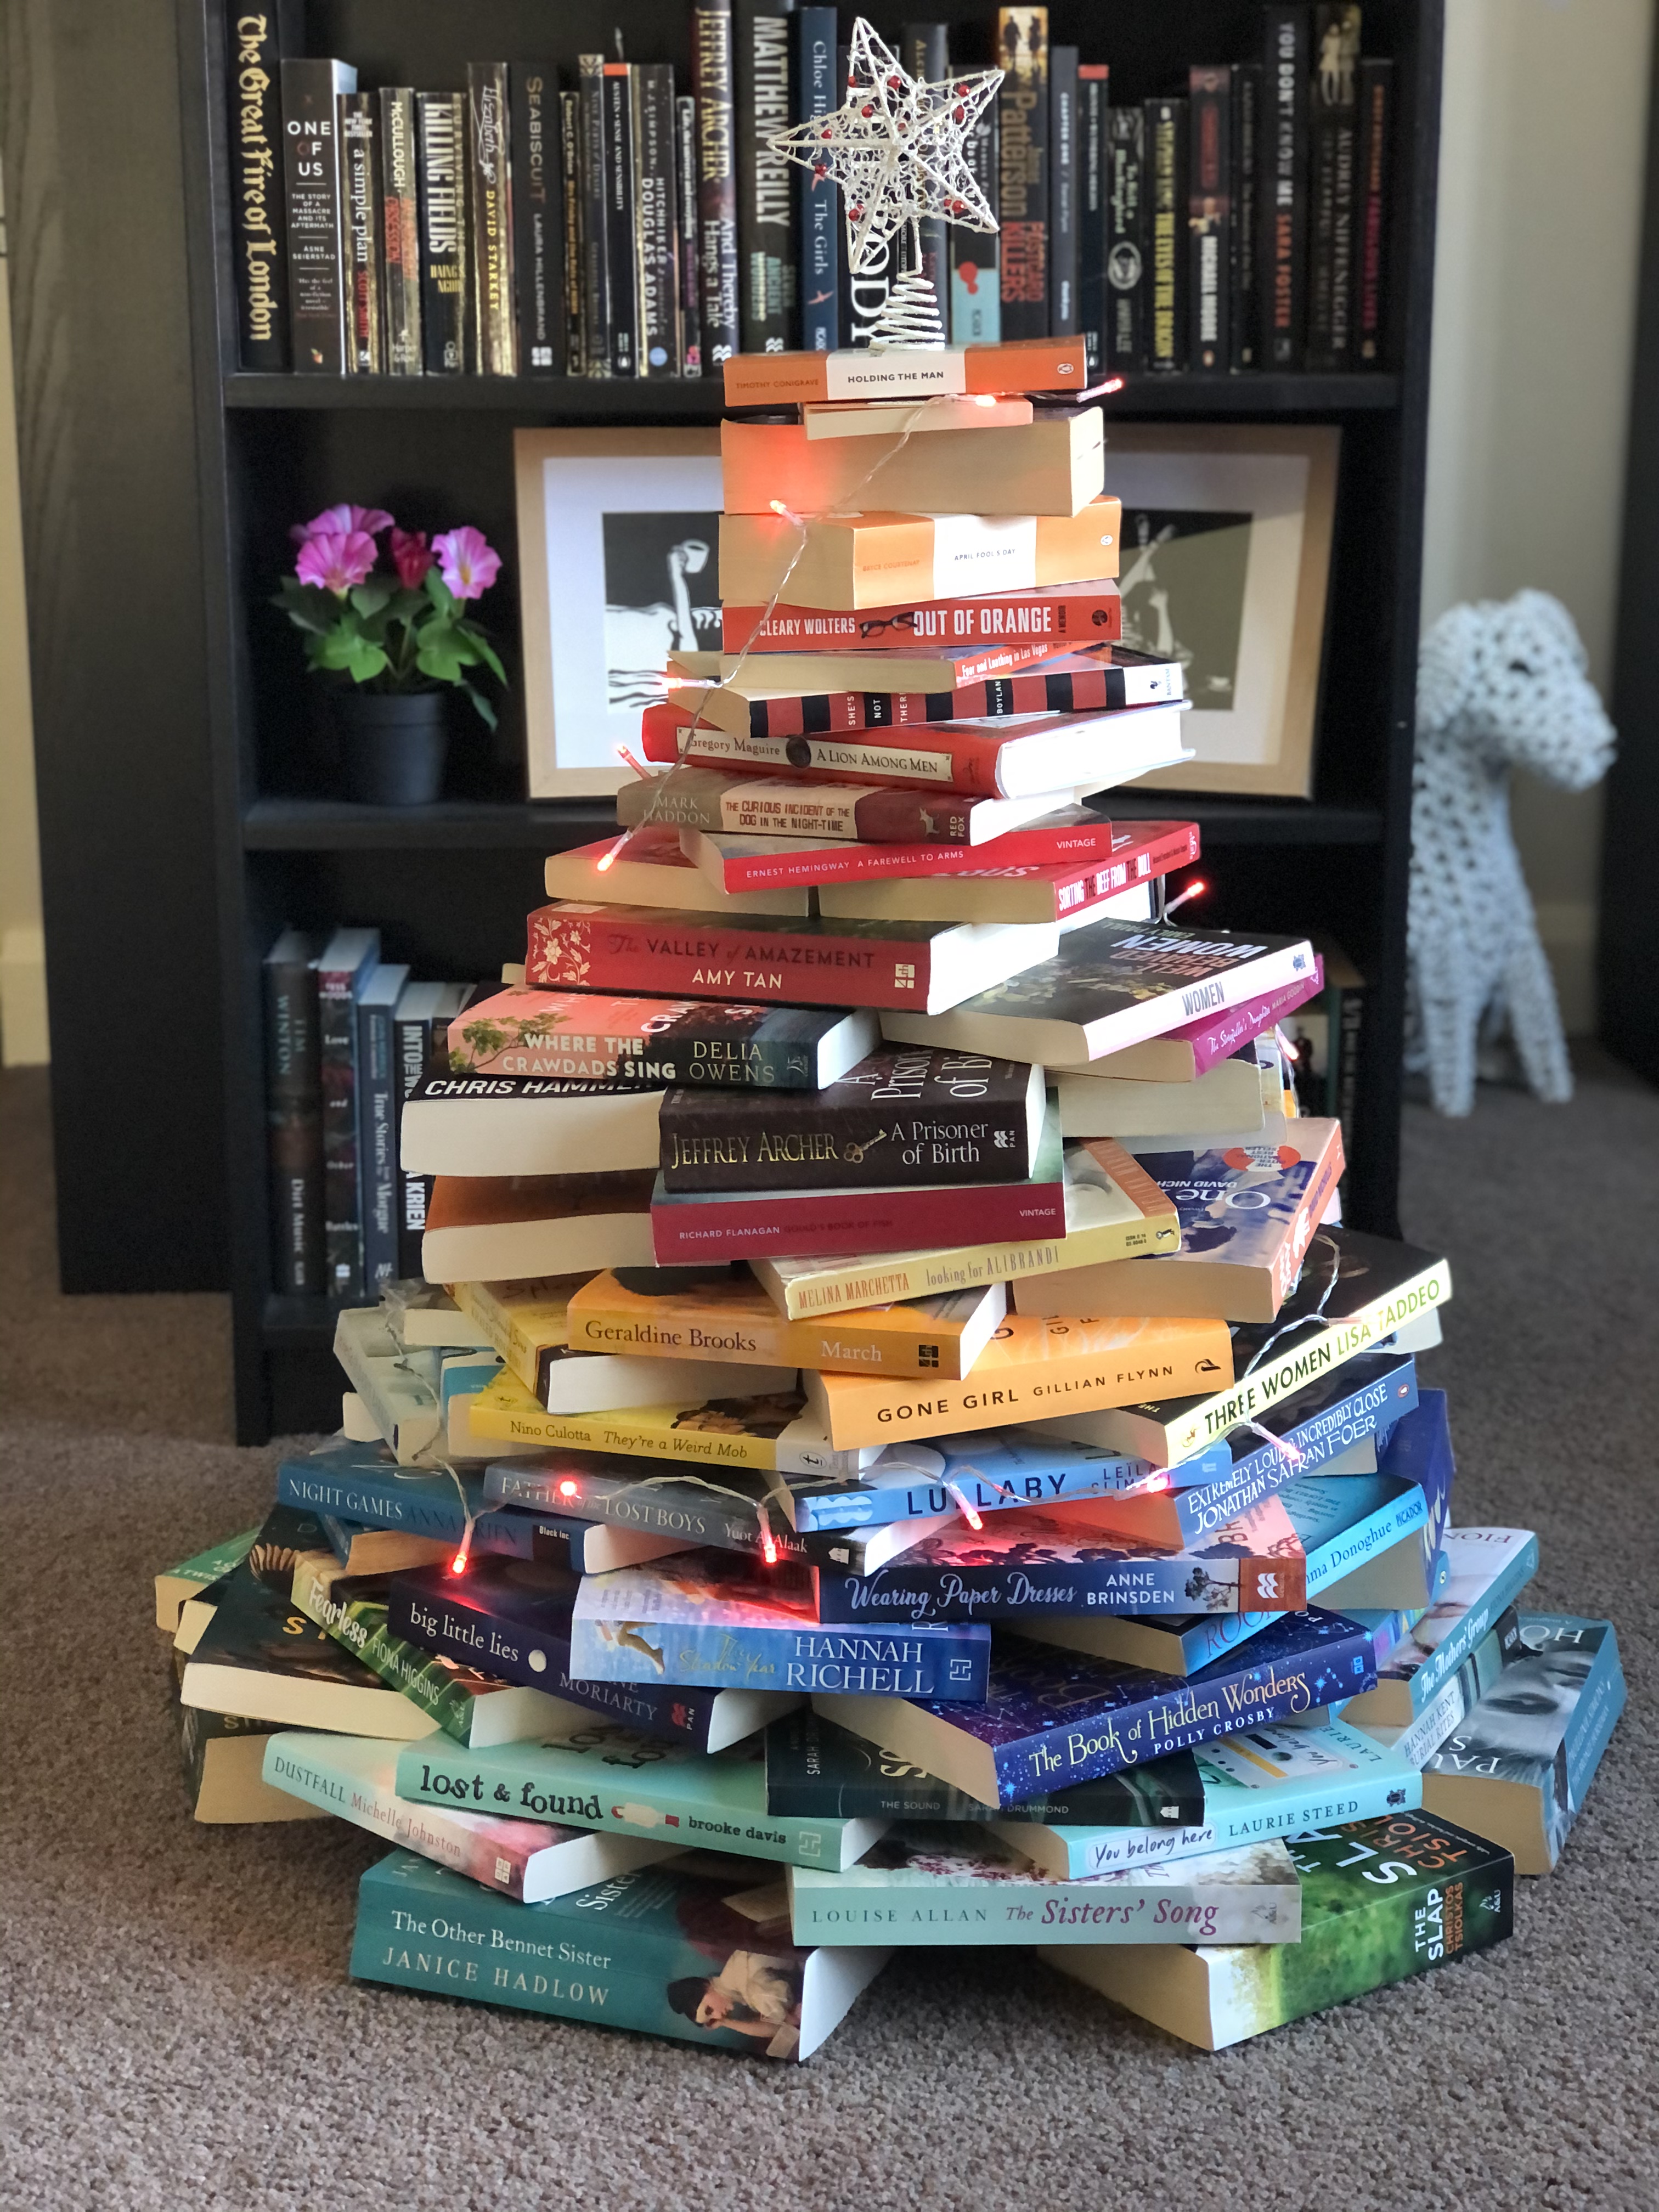
If you have been admiring the gorgeous screenprints on the shelves in the background, they are from my friend Emily who has an Etsy shop EmilyRedStudioArt by EmilyRedStudioArt on Etsy
Merry Christmas!
